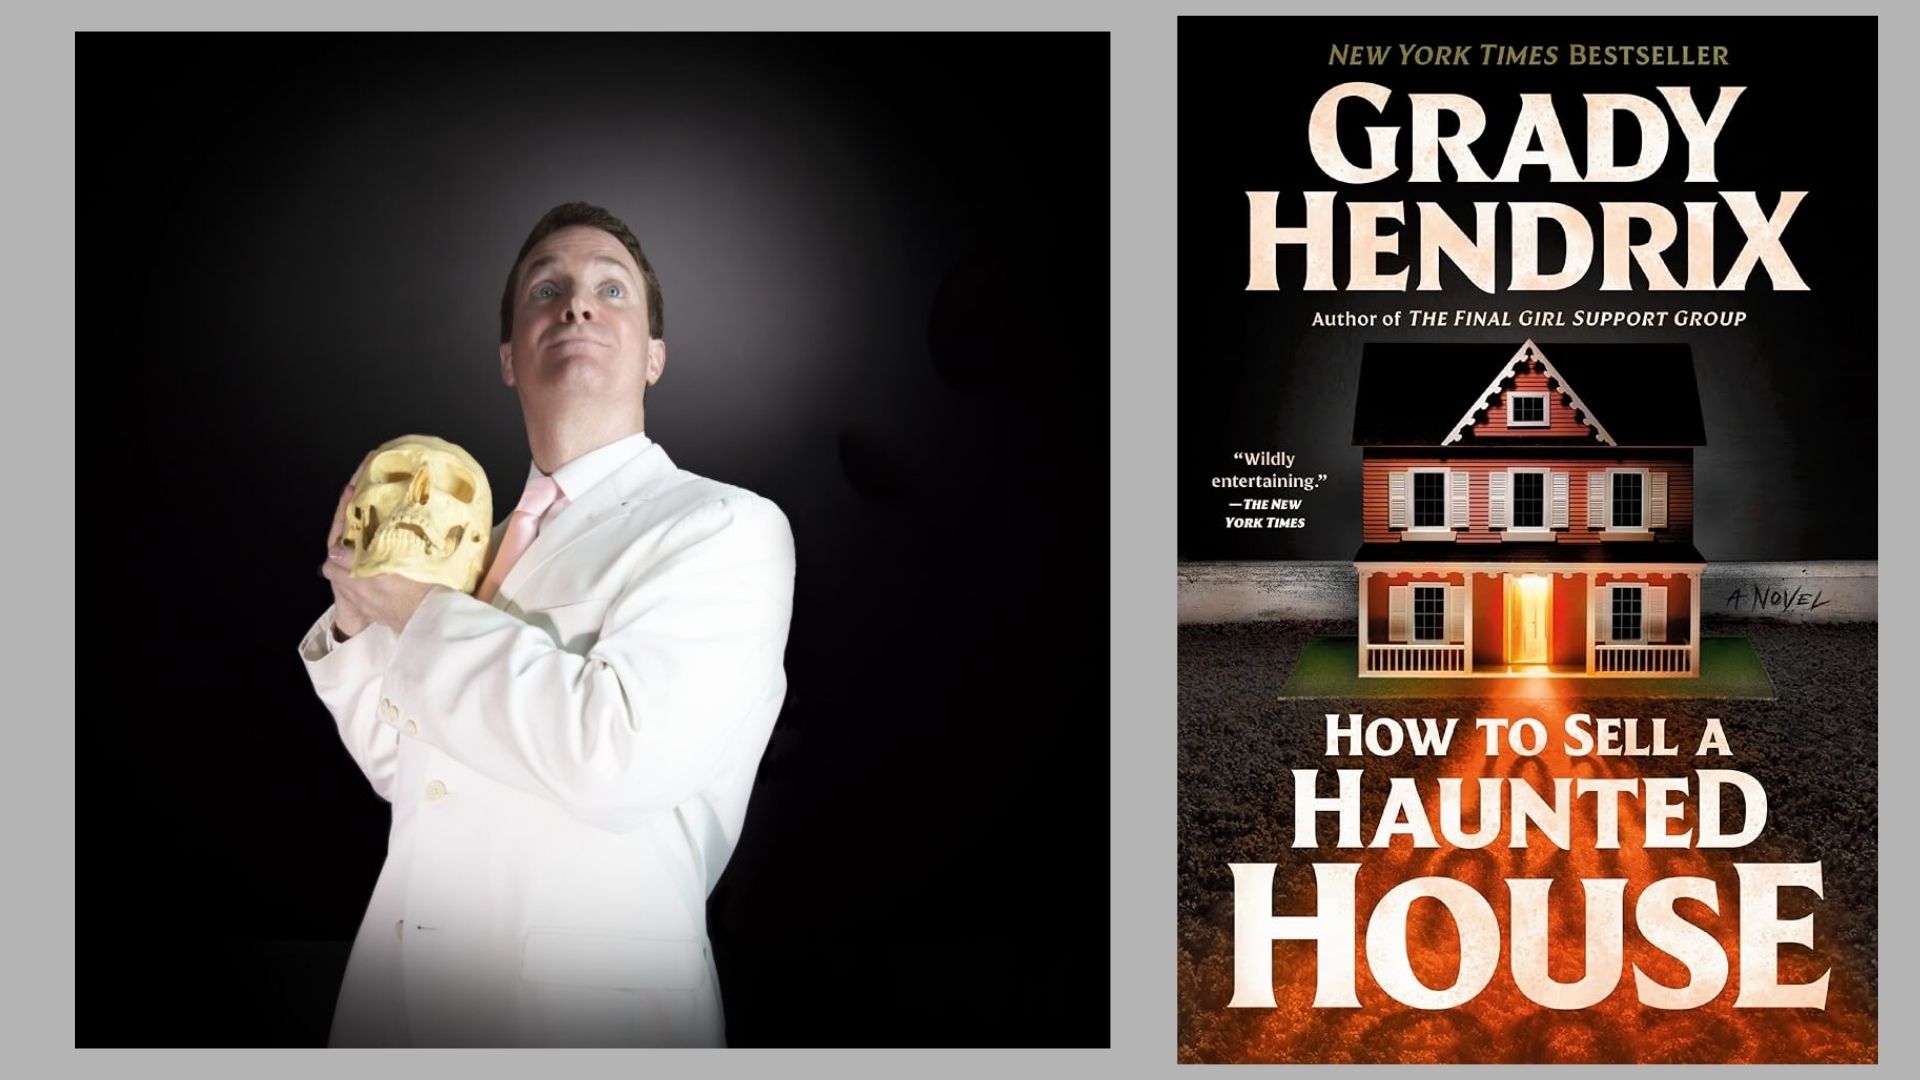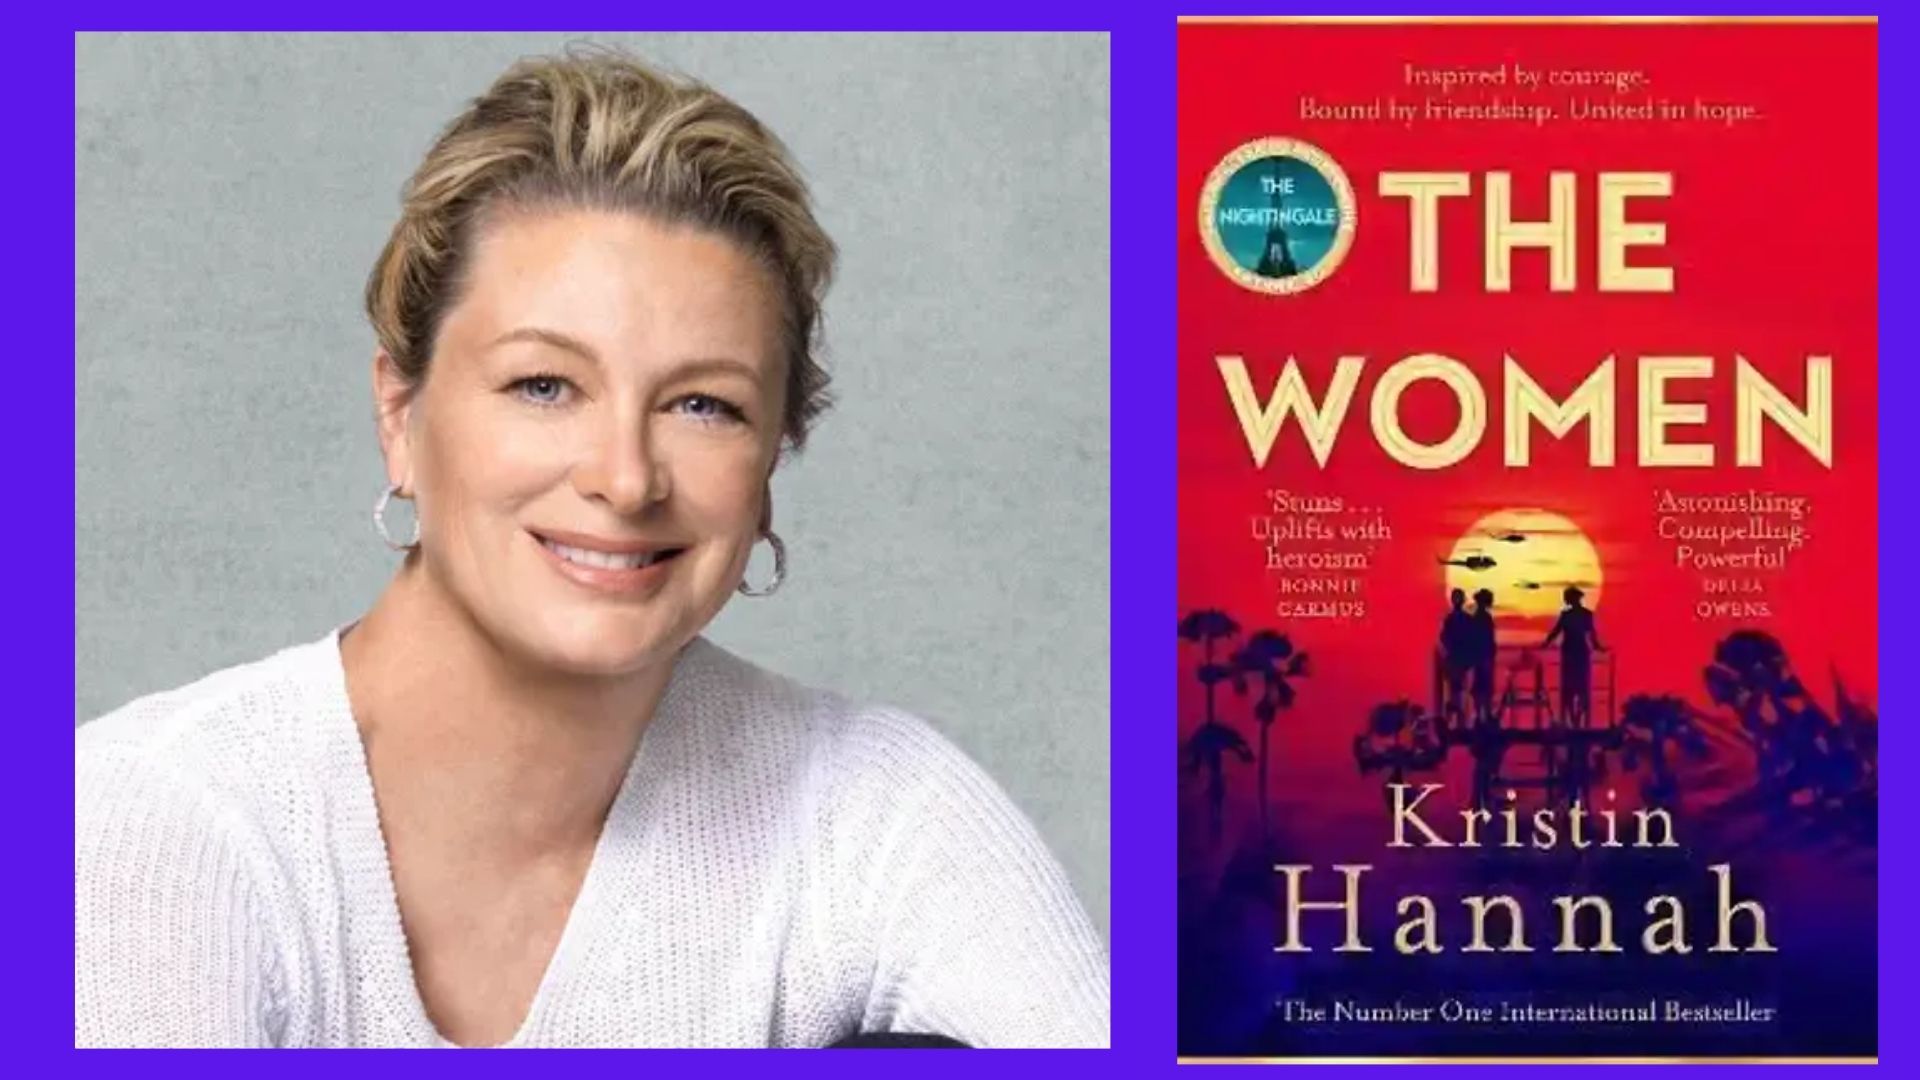


A great book trailer does what a back cover can’t. It moves, it sounds, and it lands in the social feeds where readers actually scroll. For most authors, though, a cinematic trailer used to mean hiring a studio.
That barrier is gone. AI tools now handle visuals, narration, music, and editing at a fraction of the old cost. You still need taste and a clear story, but you no longer need a production budget.
This guide walks you through the full process. You’ll plan the trailer, generate the assets, assemble the cut, and publish it where readers will see it.
Why book trailers still matter
Readers discover books through video more than ever. The #BookTok hashtag alone has pushed backlist titles back onto bestseller lists. Short, emotional clips are now a core part of how books get found.
A trailer gives you a reusable asset for every channel. You can post it on TikTok, Instagram Reels, YouTube Shorts, your website, and Amazon Author Central. One good minute of video can work for months.
Step 1: Nail the story before you touch a tool
AI can generate endless footage. It can’t decide what your trailer is about. That job is yours, and it matters more than any tool choice.
Start with a single emotional hook. Ask yourself: “What should a stranger feel after 30 seconds?”
Dread, longing, curiosity, and wonder all work. Pick one and build everything around it.
Next, write a short script of three beats:
- The world: Establish setting and tone in one or two shots.
- The tension: Introduce the conflict or central question without spoiling it.
- The hook: End on an unresolved moment, then cut to title, author name, and release date.
Keep the voiceover under 80 words for a 45-second trailer. Silence and music carry a lot of the weight. Shorter scripts also make pacing easier later.
Step 2: Build a visual shot list
Turn each script beat into two to four concrete shots. Describe each one like a film director would. “A lighthouse at dusk, fog rolling in, single lit window” beats “spooky coastal scene.”
Decide on a consistent visual style early. Your genre should guide it. Thrillers suit cold, desaturated tones, while romance often leans warm and soft-focus.
Write that style into a reusable prompt suffix. For example: “cinematic, 35mm film grain, muted teal and amber palette, shallow depth of field.” Adding it to every prompt keeps your shots feeling like one world.
Step 3: Generate your key visuals
Still images are the backbone of most AI trailers. They’re faster and cheaper to iterate than video. You can animate the best ones later.
Popular options include Midjourney, Adobe Firefly, and Canva’s AI tools. Each is strong for quick, hands-on exploration. Generate several variations per shot and keep only the ones that match your style.
Scaling up with an image API
If you’re producing trailers for a series, or for multiple authors, manual prompting gets slow. An API lets you batch-generate shots straight from your shot list. That’s where the Magic Hour Image Generator API fits in.
You send a prompt, a model choice, and an aspect ratio to a single endpoint. Aspect ratio support matters here, since you’ll want 9:16 for Reels and 16:9 for YouTube. Magic Hour offers Python and Node SDKs, plus free starter credits when you create an API key.
A simple script can loop through your shot list and output every frame in both formats. Here’s what a single call looks like in Python:
from magic_hour import Client
from os import getenv
client = Client(token=getenv(“MAGIC_HOUR_API_KEY”))
res = client.v1.ai_image_generator.generate(
name=”Lighthouse establishing shot”,
image_count=2,
aspect_ratio=”9:16″,
style={
“prompt”: “A lighthouse at dusk, fog rolling in, single lit window, “
“cinematic, 35mm film grain, muted teal and amber palette”,
“tool”: “general”,
},
)
For publishers or marketing teams, this turns trailer visuals into a repeatable pipeline. For a solo author with one book, a web-based generator is usually enough.
Step 4: Bring stills to life with motion
Static images feel flat in a trailer. Add movement in one of two ways.
The simplest option is a slow pan or zoom, often called the Ken Burns effect. Any video editor can do this. It works surprisingly well for moody, literary titles.
For real motion, use image-to-video tools like Runway, Pika, or Kling. Feed in your best stills and describe the movement you want. “Fog drifts left, camera pushes in slowly” gives better results than vague prompts.
Keep generated clips short, around three to five seconds each. AI video tends to drift or distort in longer takes. Quick cuts also match how trailers are paced anyway.
Letting an AI assistant run the pipeline
Juggling several generation tools can get messy. The Magic Hour MCP server offers a shortcut. It connects AI assistants like Claude and Cursor directly to Magic Hour’s image, video, and audio tools.
In practice, you can describe a shot in plain language inside your assistant. It generates the image, animates it, waits for the render, and returns a download link. You never leave the chat window.
This is useful when you’re iterating on a dozen shots at once. You can ask for “five variations of the lighthouse shot, then animate the best two.” The assistant handles the uploads and job polling behind the scenes.
Step 5: Add voice and music
Sound does half the emotional work in a trailer. Don’t treat it as an afterthought.
For narration, ElevenLabs produces natural, expressive voices in many styles. Match the voice to your genre, like gravelly for noir or warm for cozy mysteries. Generate a few takes and pick the one with the best pauses.
For music, tools like Suno and Soundraw can create original scores. Ask for a track that builds tension and peaks near the end. Always check the licensing terms before you publish commercially.
Step 6: Edit and assemble the cut
Now pull everything together in an editor. CapCut and Descript are beginner-friendly and include AI features like auto-captions. DaVinci Resolve offers more control if you want it.
Follow a few editing rules of thumb:
- Cut on the music: Line up shot changes with beats or swells.
- Add captions: Many viewers watch on mute, so on-screen text is essential.
- Show the cover: End with your book cover, title, and a clear call to action.
- Stay short: Aim for 30–60 seconds for social and up to 90 for YouTube.
Export a vertical 9:16 version and a horizontal 16:9 version. Each platform rewards the format it was built for.
Step 7: Publish and promote
Upload natively to each platform rather than sharing links. Native video typically gets far more reach. Write a caption that teases the story instead of summarizing it.
Pin the trailer to your social profiles and embed it on your book’s landing page. You can also add it to Amazon through Author Central. Share it with your newsletter list, since they’re your most likely early readers.
Track which platform drives the most engagement. Then create short cutdowns of your best moments for follow-up posts.
Common questions
How long should a book trailer be? Between 30 and 60 seconds works best for social platforms. Longer trailers lose viewers quickly. Save extended cuts for YouTube or your website.
Can I use AI-generated images commercially? Usually yes, but it depends on each tool’s terms. Paid plans often include broader commercial rights. Read the license for every tool you use before publishing.
Do I need to disclose that my trailer uses AI? Some platforms, including YouTube, require labels for realistic synthetic content. Transparency also builds trust with readers. When in doubt, add a brief note.
How do I keep characters consistent across shots? Consistency is AI’s biggest weak spot. Use detailed, repeated character descriptions and a fixed style suffix. Alternatively, avoid faces and rely on objects, settings, and silhouettes.
The final chapter
A stunning book trailer comes down to story first and tools second. Start with one emotional hook, build a tight shot list, and let AI handle the heavy lifting. Then polish the sound and pacing until it feels right.
You don’t need a studio or a big budget anymore. You need a clear vision and an afternoon to experiment. Make your first trailer this week, and let readers see your story before they read it.