

I never thought a single wall could change how a whole room feels. But after I built my first set of shelves, I got it.
No flat-pack furniture. No waiting on delivery.
Just a wall I actually loved looking at. If you've been thinking about diy built in bookshelves but don't know where to start, stay right here. What I'm about to share might surprise you.
It's more doable than you think, and the results? Way better than anything you'd find in a store.
Let's get into it.
Why DIY Built In Bookshelves Are Worth It

Custom bookshelves from a store can cost hundreds, sometimes even thousands of dollars. Building your own cuts that cost by more than half in most cases.
You get full control over the size, depth, color, and design. That means the shelves fit your space exactly, not just close enough.
Most homes have walls that sit there doing nothing. Easy diy built in bookshelves for beginners are a smart way to turn that space into real storage.
And here's a bonus: built-in shelves can add genuine value to your home. Buyers notice them. They make a room feel finished and well thought out.
Tools and Materials You Will Need
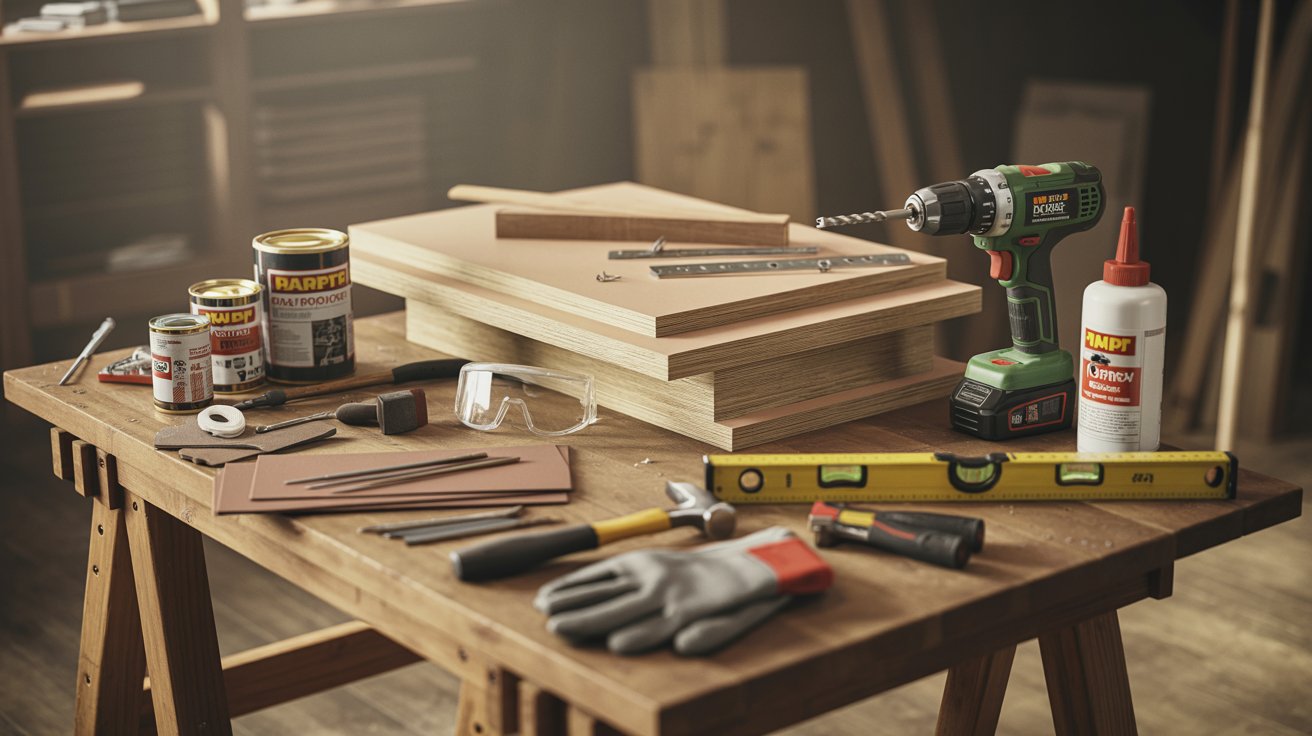
Before you cut a single board, make sure you have everything ready. Running back to the store mid-project breaks your momentum and wastes time.
Here's everything you'll need to get the job done right:
- Plywood or MDF boards
- Stud finder
- Drill and screws
- Level tool
- Measuring tape
- Wood glue
- Nails or brad nailer
- Sandpaper
- Primer and paint
- Safety gear (gloves and goggles)
Nothing on that list is hard to find. Most items are available at any hardware store, and you may already have a few of them at home.
Step-by-Step Guide to Build DIY Built In Bookshelves
This is where it all comes together. Follow each step in order and don't rush through anything. Taking your time now saves you from fixing mistakes later.
Step 1 – Measure Your Wall Space

Start with the full height, width, and depth of the wall where the shelves will go. Write every measurement down. Don't try to keep it all in your head.
Use a pencil to mark the layout directly on the wall. This gives you a clear visual before anything gets attached.
Check that your marks align with the ceiling. An uneven start causes problems all the way through the build.
Step 2 – Plan Your Design Layout

Decide how much space you want between each shelf. Think about what you're actually storing. Books need different spacing than baskets or decorative pieces.
Choose between a symmetrical or asymmetrical layout. Symmetrical looks clean and classic. Asymmetrical gives the wall a more modern feel.
Sketch the full structure on paper before buying materials. A simple drawing saves a lot of guesswork later.
Step 3 – Locate Wall Studs
Run a stud finder slowly across the wall. Mark each stud location clearly with a pencil. Studs are what actually hold your shelves over time.
Skipping this step means the shelves may shift or come loose. That's a safety issue, especially with heavy books sitting on top.
Take your time here. Double-check every mark before you move on.
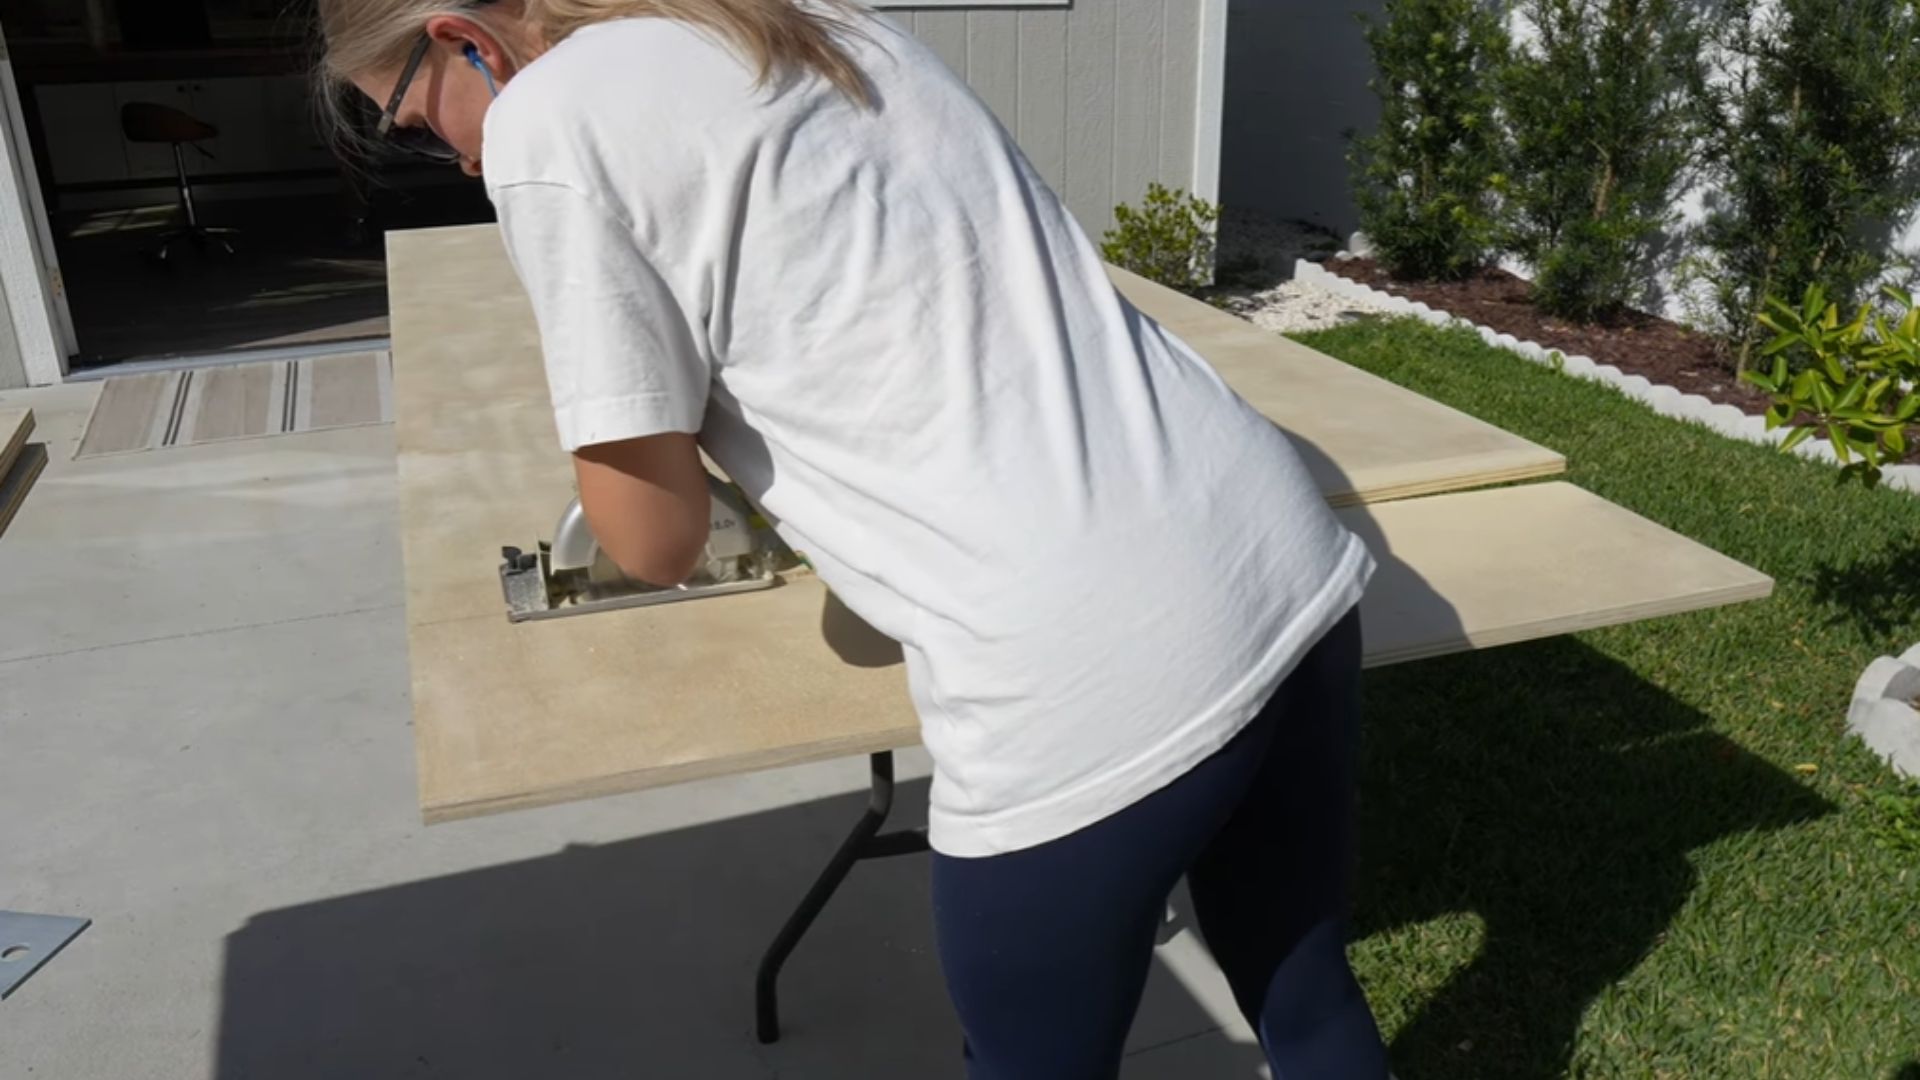
Step 4 – Build the Bookshelf Frame

Cut your plywood or MDF boards based on the measurements from Step 1. Measure twice before every cut. Always.
Assemble the side panels and top frame first. Use both screws and wood glue together for a stronger hold.
Let the glue dry fully before moving the frame around. Rushing this can weaken the joints and cause problems later.
Step 5 – Install the Base Structure

Attach the bottom frame directly to the wall studs. This is the foundation of the whole build, so it has to be solid.
Use a level to confirm everything sits straight. Even a slight tilt becomes very noticeable once the shelves are full.
Add extra screws if the base feels at all loose. It's far easier to reinforce now than after everything else is up.
Step 6 – Add Shelf Supports

Install horizontal brackets inside the frame at even intervals. Use your sketch from Step 2 as your guide.
Space the supports based on your design plan. Consistent spacing keeps the shelves looking neat. Check alignment with your level after each bracket. Don't skip that step, even once.
Step 7 – Attach Shelves

Place each shelf board onto its supports. Make sure it sits flat before you secure it. Use nails or screws to lock each shelf firmly in place. Don't rely on the supports alone to hold the weight.
Go back through each shelf with your level one more time. Small adjustments now prevent wobbling later.
Step 8 – Fill Gaps and Sand Surface
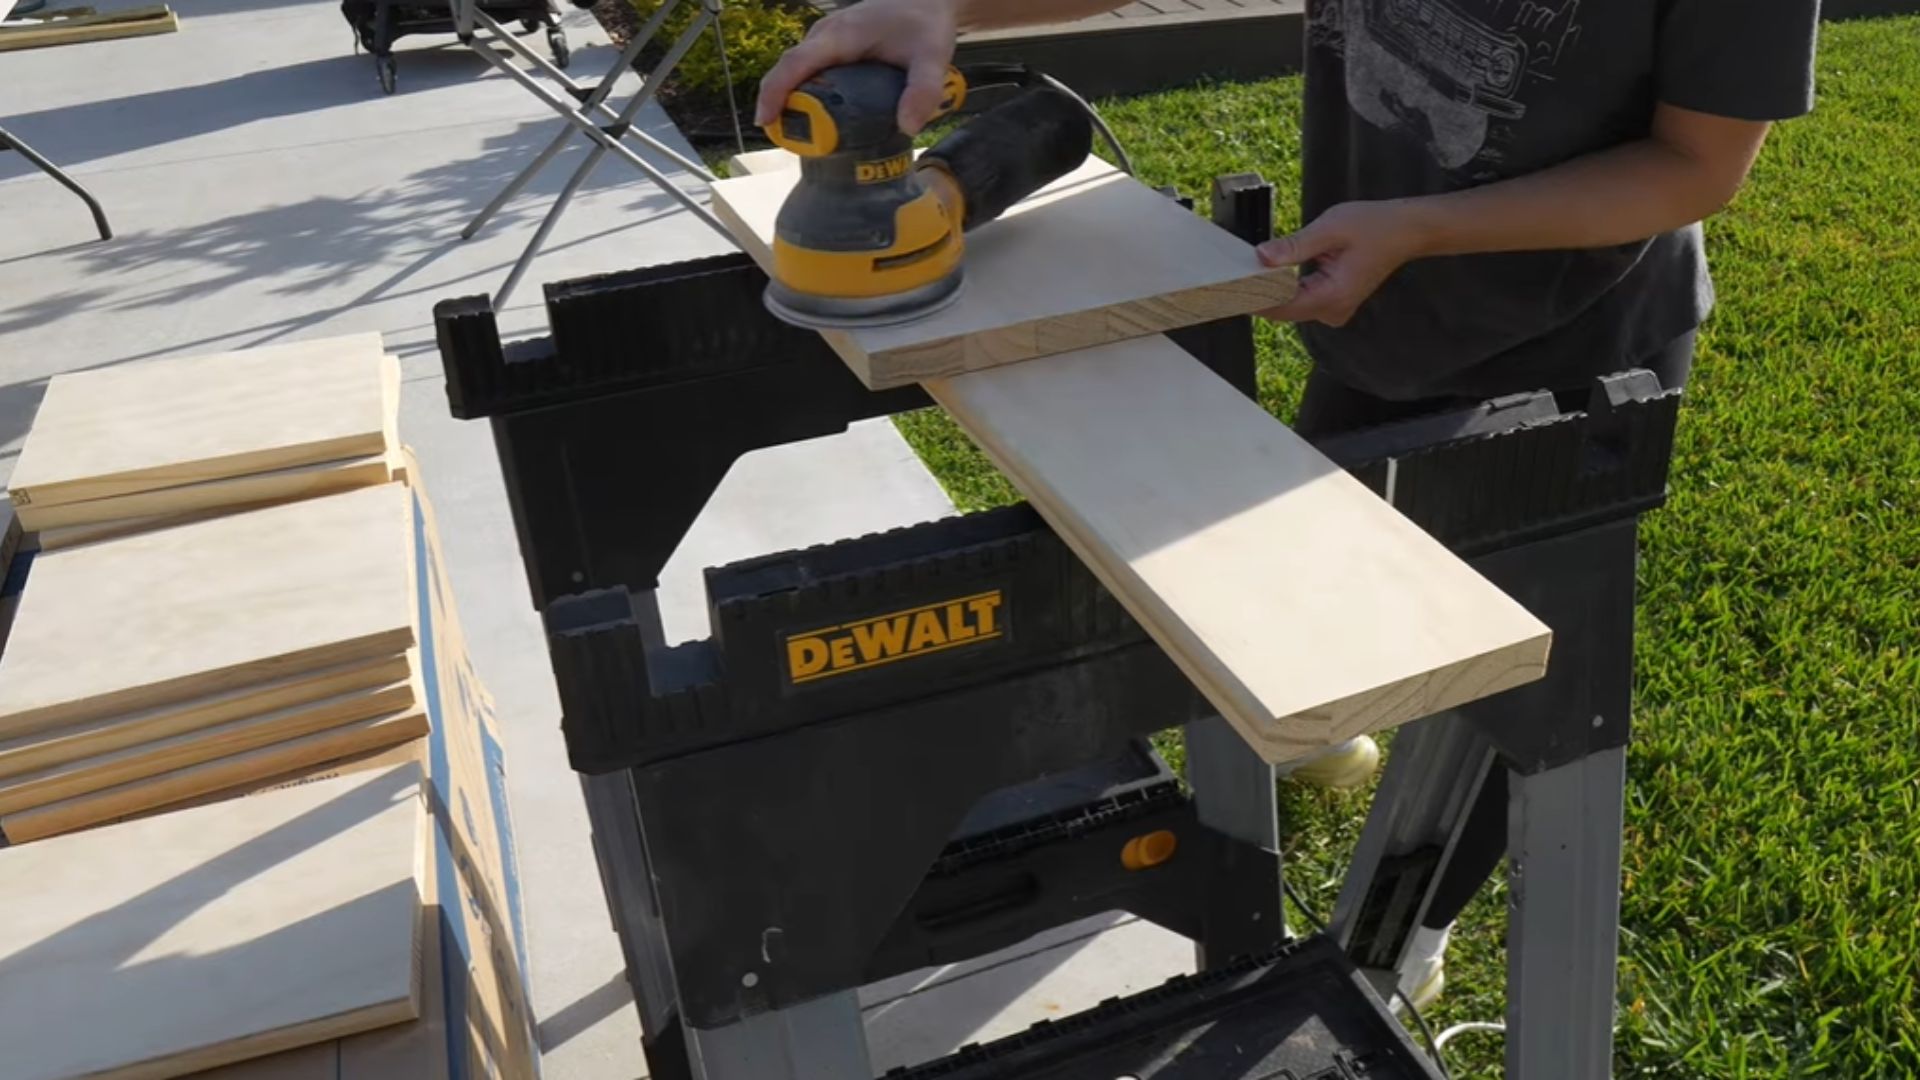
Apply wood filler over all joints, nail holes, and any visible gaps. Let it dry completely before touching it.
Sand the entire surface once the filler is dry. Start with coarser sandpaper, then move to a fine grit for a smooth finish. A smooth surface makes painting much easier and gives a cleaner final result.
Step 9 – Paint and Finish

Apply a coat of primer first. Primer helps the paint bond better and last longer.
Once the primer is fully dry, apply your chosen paint color. Two thin coats always look better than one thick coat. Finish with a clear protective coat. This prevents chipping, especially around high-use spots.
Design Ideas for DIY Built In Bookshelves
Once the structure is done, choosing the look is the fun part. There are so many directions you can go depending on your space and personal style.
Here are some popular ideas worth considering:
- Floor-to-ceiling modern shelves
- Minimalist white built-ins
- Rustic wooden library wall
- Window framing bookshelf design
- Integrated TV and bookshelf combo
- Cozy reading nook shelves
All of these work with the same basic build process you just read through. The structure stays mostly the same. Only the finish, color, and layout change.
Tips for Strong and Long-Lasting Bookshelves
A well-built shelf can hold up for years with a few smart choices during the build.
These tips will help you avoid common mistakes and keep your shelves looking great long-term:
- Always anchor into wall studs, not just drywall
- Reinforce shelves that will carry heavy loads
- Use moisture-resistant wood in rooms that get humid
- Choose quality paint and sealant for durability
- Plan shelf spacing based on what you'll actually store there
Small decisions during the build add up over time. Don't cut corners on anchoring or finishing if you want shelves that last.
Conclusion
I still remember standing back and looking at my finished shelves for the first time. That feeling is hard to beat. Now it's your turn.
Diy built in bookshelves give you something a store-bought piece never will: a space that's built exactly the way you want it. So pick your wall, grab your tools, and start. You don't need to be an expert.
You just need to begin. Drop a comment below and tell me which design you're going for. I'd love to see what you build!
Frequently Asked Questions
Are DIY Built In Bookshelves Hard to Make?
Not at all. With basic tools and a clear step-by-step plan, most beginners can manage this project without much trouble.
How Long Does It Take to Build Built-In Bookshelves?
Most projects take anywhere from one to three days. The timeline depends on the size of the shelves and how much finishing work is involved.
What Wood Is Best for DIY Built In Bookshelves?
MDF and plywood are both solid choices. They hold up well over time and are easy to find without spending too much.
Can I Build Built-In Bookshelves Without Power Tools?
Basic hand tools can get the job done. That said, power tools make the process go a lot faster and with less effort.
How Much Does It Cost to Build DIY Built In Bookshelves?
The cost varies based on material quality and the size of the project. Most DIY builds come in well below what you'd pay for store-bought or custom cabinetry.


