

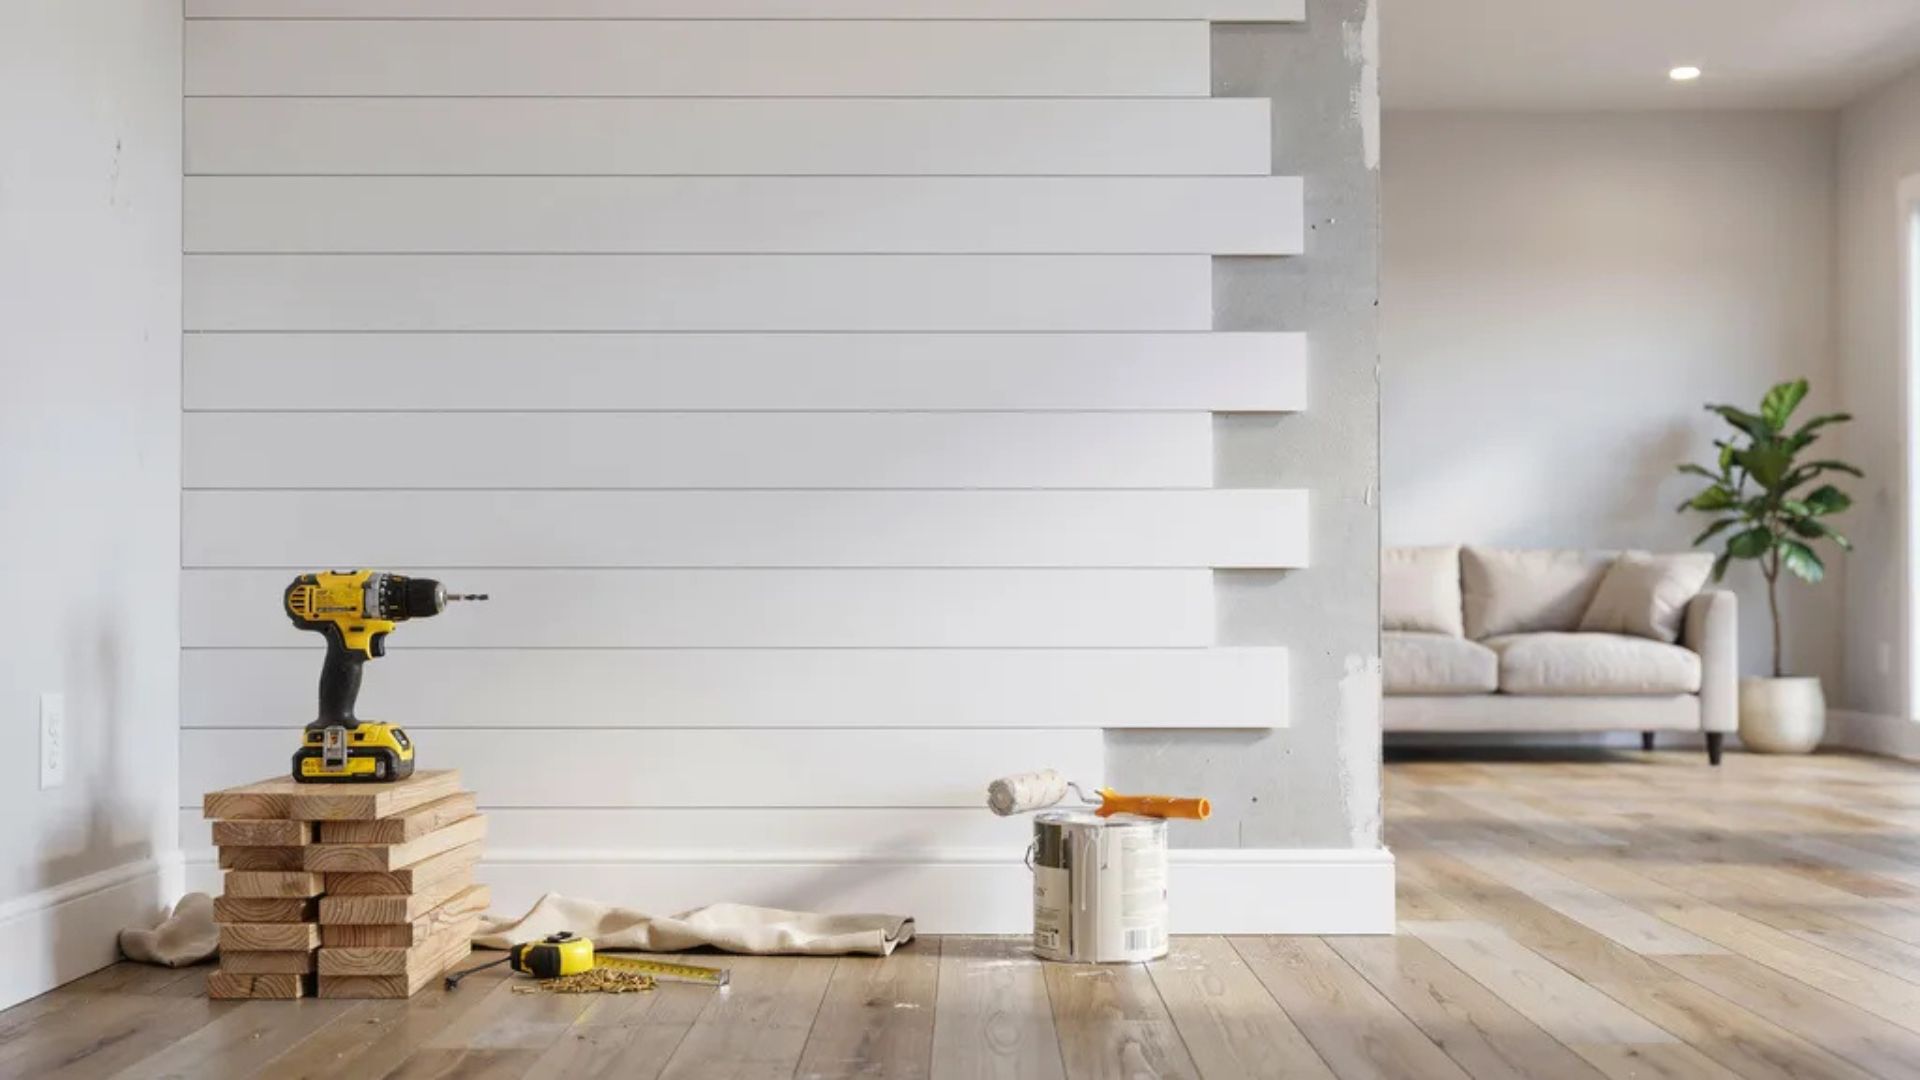
If you've been thinking about adding character to a plain wall, a shiplap accent wall is one of the easiest ways to do it.
I have always liked how a simple wall upgrade can completely change the feel of a room without turning into a complicated project. If you're unsure where to start, you're in the right place.
In this guide, I'll walk you through the tools, materials, and step-by-step process needed to install a shiplap accent wall with confidence. You'll also find design ideas, common mistakes to avoid, and practical tips for a polished finish.
I've spent time researching proven installation methods so you can follow a process that works.
What Is a Shiplap Accent Wall?
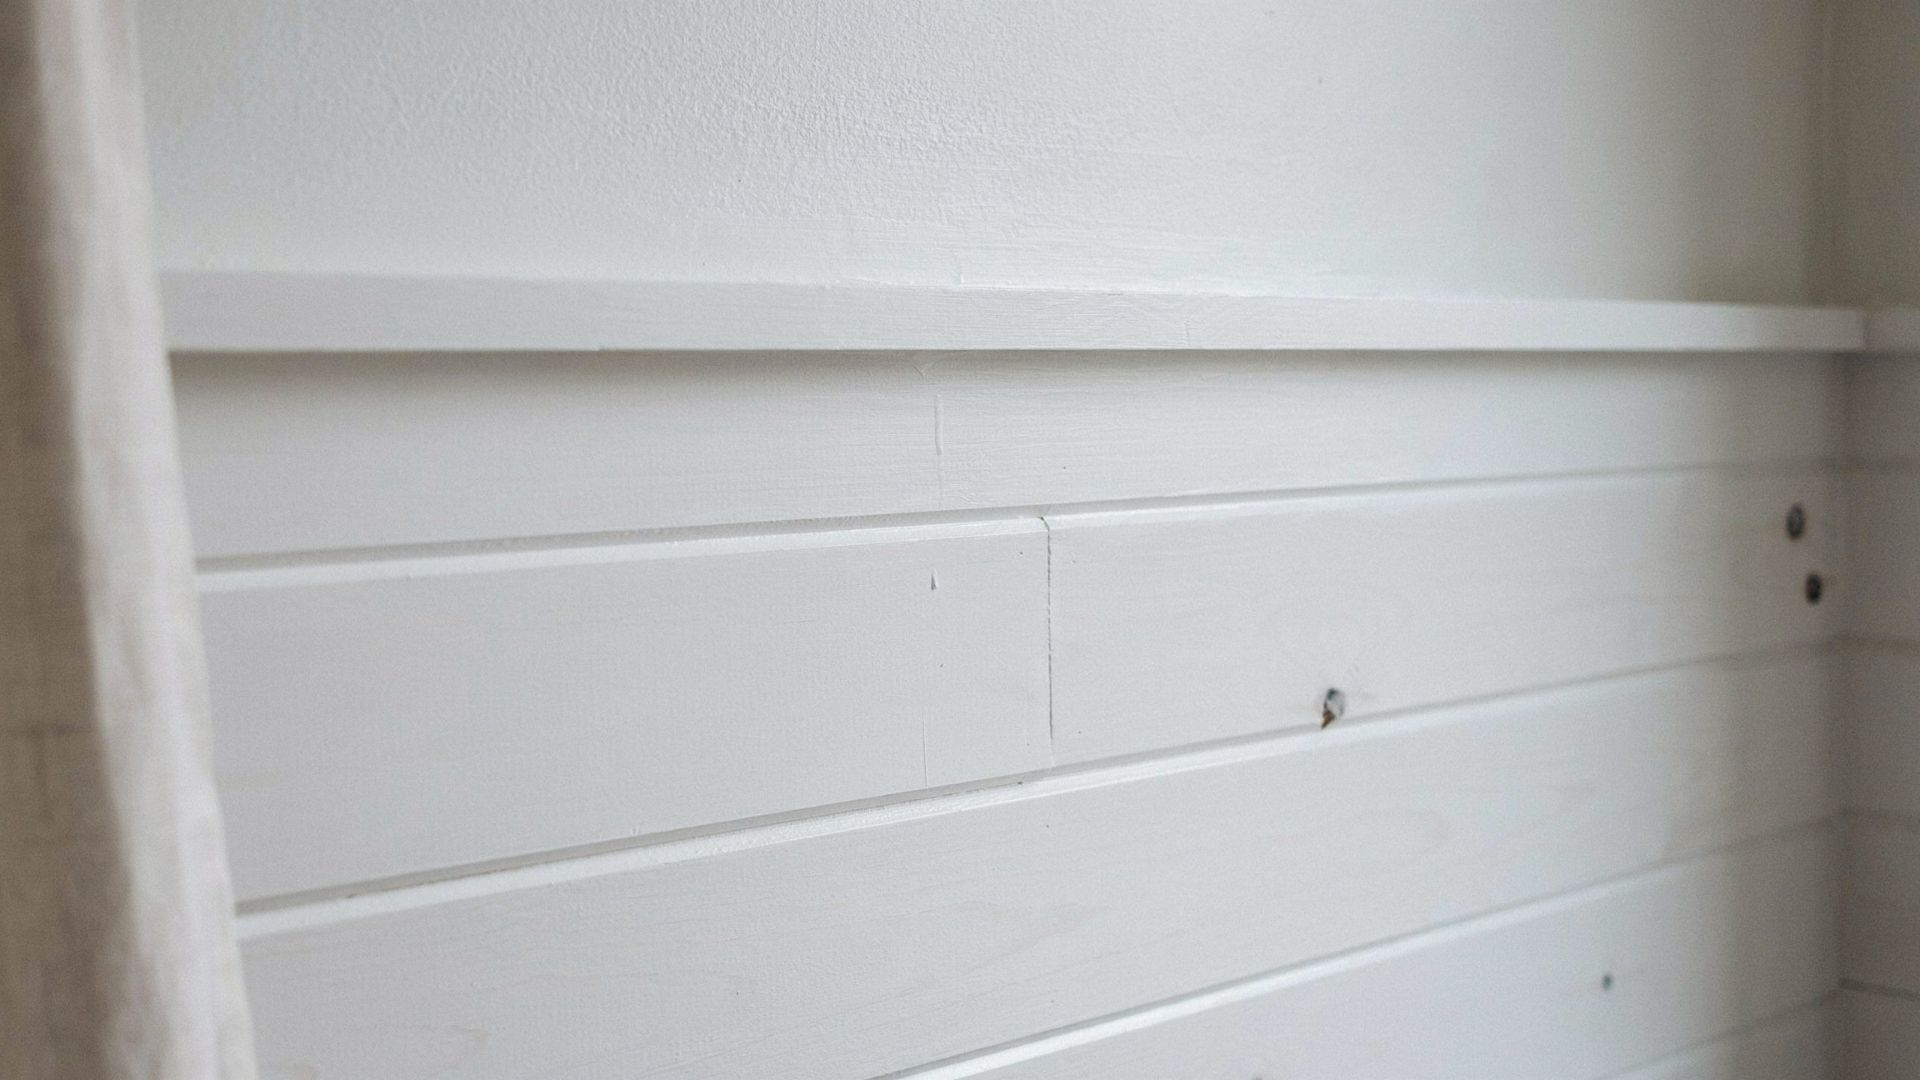
Shiplap is a type of wooden board with a small groove or rabbet cut along the edge that, when stacked, overlaps slightly to create a clean, consistent gap between each row, giving the wall a textured, layered look that works in both modern and rustic spaces.
As an accent wall, it adds texture, depth, and character to a room, is more affordable than many wall treatments, can be painted to match your décor, and is durable enough to last for years.
It works well in nearly every room:living rooms gain a natural focal point, bedrooms can use it behind the bed in place of a traditional headboard, bathrooms benefit from moisture-resistant shiplap for a spa-like feel, and entryways or hallways use it to set the tone for the rest of the home.
Tools and Materials Needed

Having the right tools and materials on hand will make the installation process smoother and help you achieve a professional-looking finish.
Important Tools
Before you start, gather a tape measure, pencil, level, circular saw or miter saw, nail gun or hammer, stud finder, pry bar for removing baseboards if needed, caulk gun, and sandpaper.
These tools will help you measure, cut, secure, and finish the shiplap boards accurately.
Required Materials
For the project, you will need shiplap boards made from wood, MDF, or engineered wood, along with 2-inch finishing nails, wood filler or spackling paste, paintable caulk, primer, and paint.
Keep sandpaper in the 120- to 220-grit range for smoothing surfaces, and use spacers, such as nickels, to maintain consistent gaps between the boards.
How to Install a Shiplap Accent Wall Step by Step
A step-by-step guide to installing a shiplap accent wall, from prepping your surface to nailing each board into place for a clean, professional finish.
Step 1: Prepare the Wall
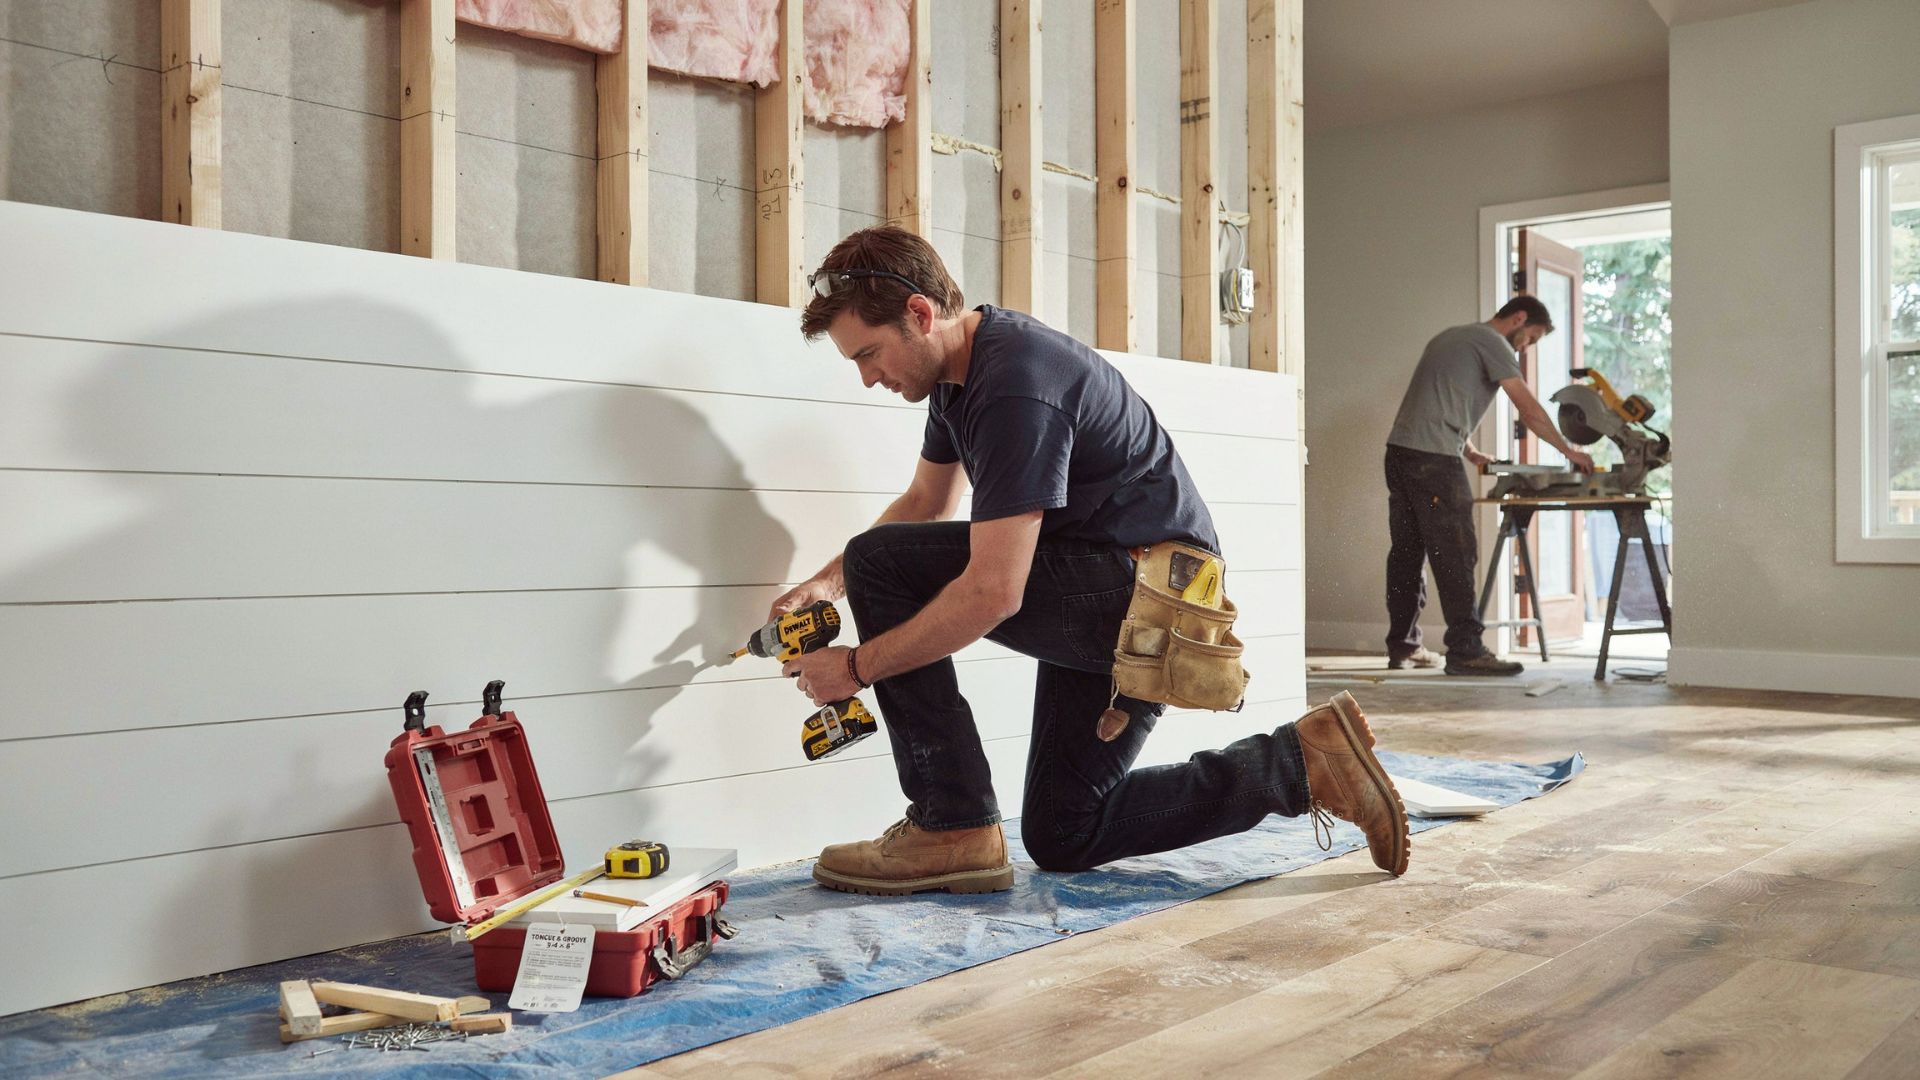
Start by clearing the wall completely. Remove any picture frames, shelves, and outlet covers. If there are baseboards, you can either remove them or cut the shiplap boards to fit around them.
Patch any holes or cracks in the drywall before moving forward. A smooth surface makes installation easier and gives a cleaner result.
Step 2: Measure and Cut the Boards

Measure the width of your wall carefully. Mark each board before cutting so you do not waste material. Cut boards to length using a miter saw for clean, straight edges.
If your wall has outlets or switches, measure their exact position and cut notches in the boards so everything fits neatly.
Step 3: Mark the Studs

Use a stud finder to locate all the wall studs. Mark each stud with a light pencil line from floor to ceiling. This is important because you need to nail into studs for a secure hold.
If you skip this step, boards can come loose over time.
Step 4: Install the First Board

The first board sets the foundation for everything above it. Start at the bottom of the wall and use a level to make sure it is perfectly straight. Even a slight tilt at the bottom will throw off every board above it.
Nail the board into each stud using finishing nails. Two nails per stud is usually enough.
Step 5: Install the Remaining Boards
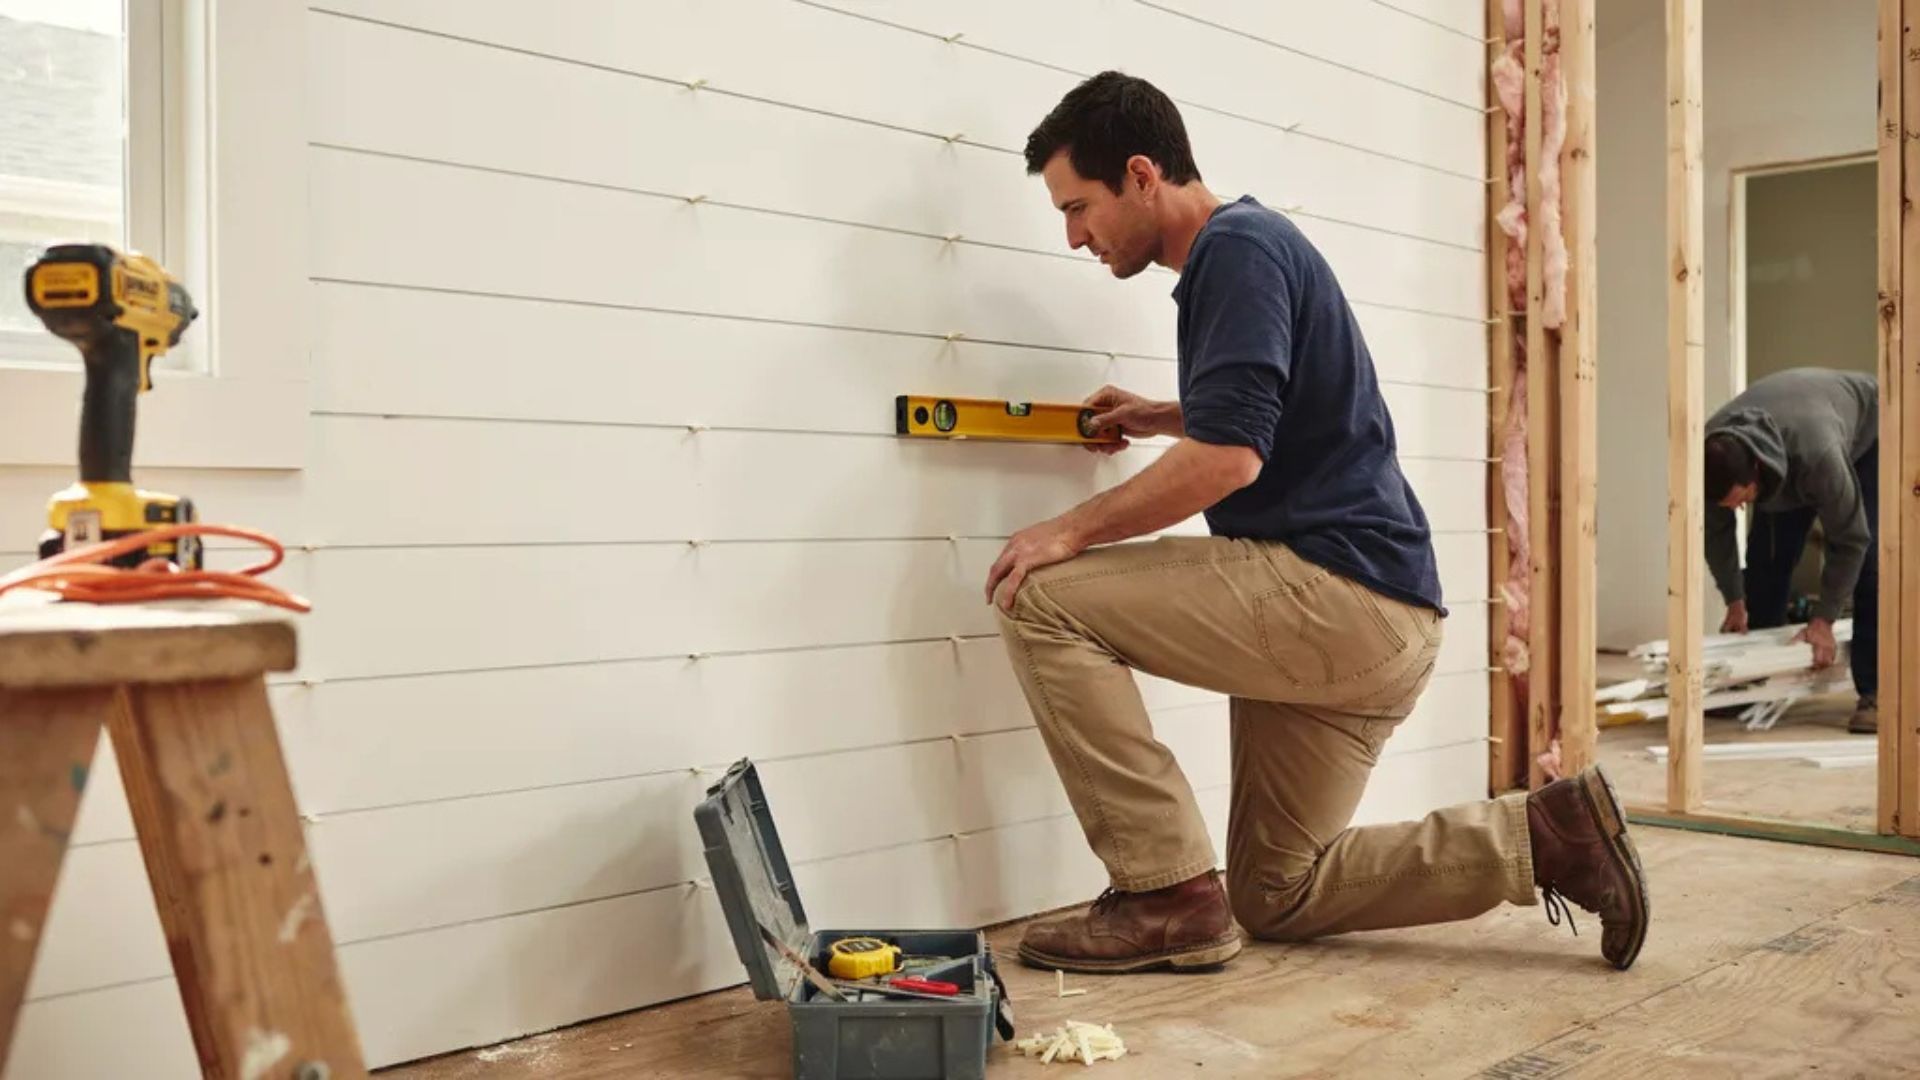
Place spacers on top of the first board before adding the next one. Nickels are a popular choice because they create an even, consistent gap. Stack each board, check the level, and nail it into place.
Continue this process up the wall. Check the level every three to four rows to catch any drift before it becomes a problem.
Step 6: Add Trim and Baseboards
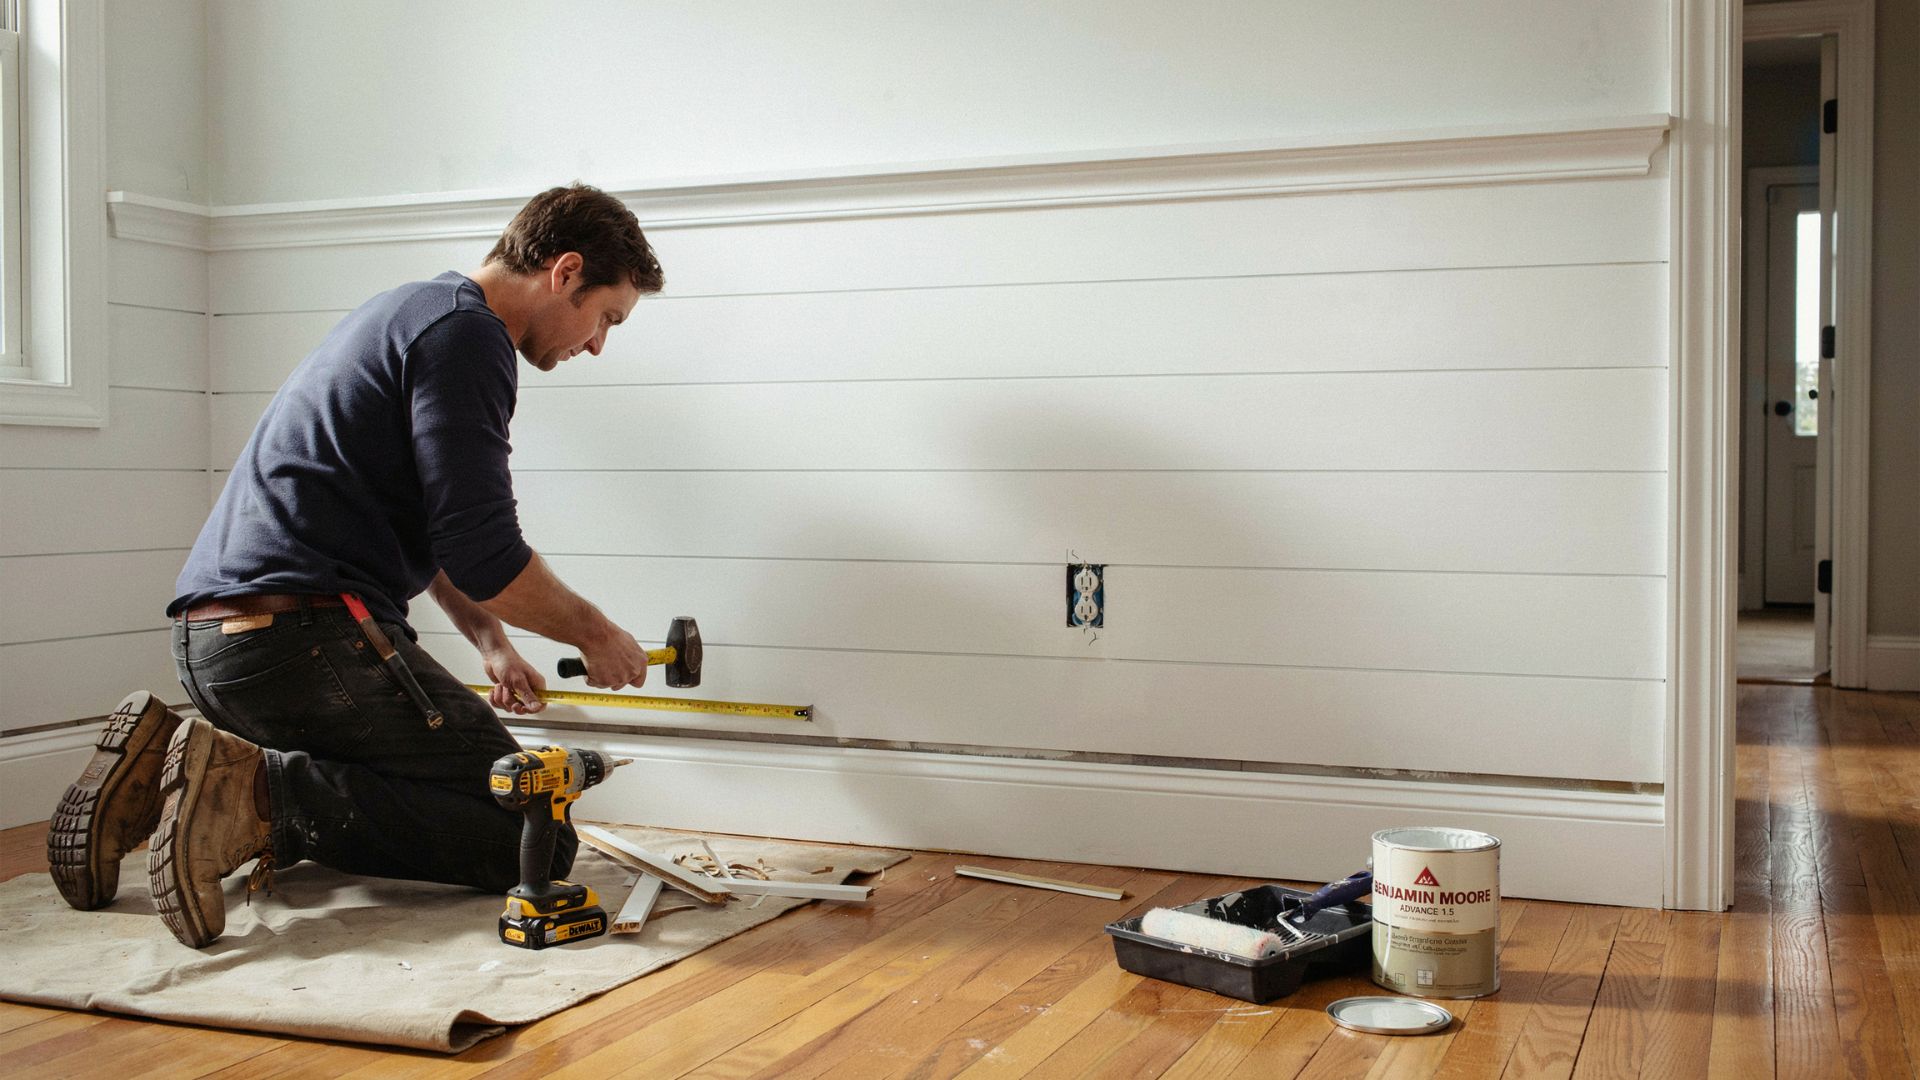
Once all the boards are installed, reattach or replace the baseboards at the bottom. Add trim pieces along the top and sides if needed to frame the wall cleanly.
Cut trim pieces at a 45-degree angle at the corners for a polished look.
Step 7: Fill, Caulk, and Paint
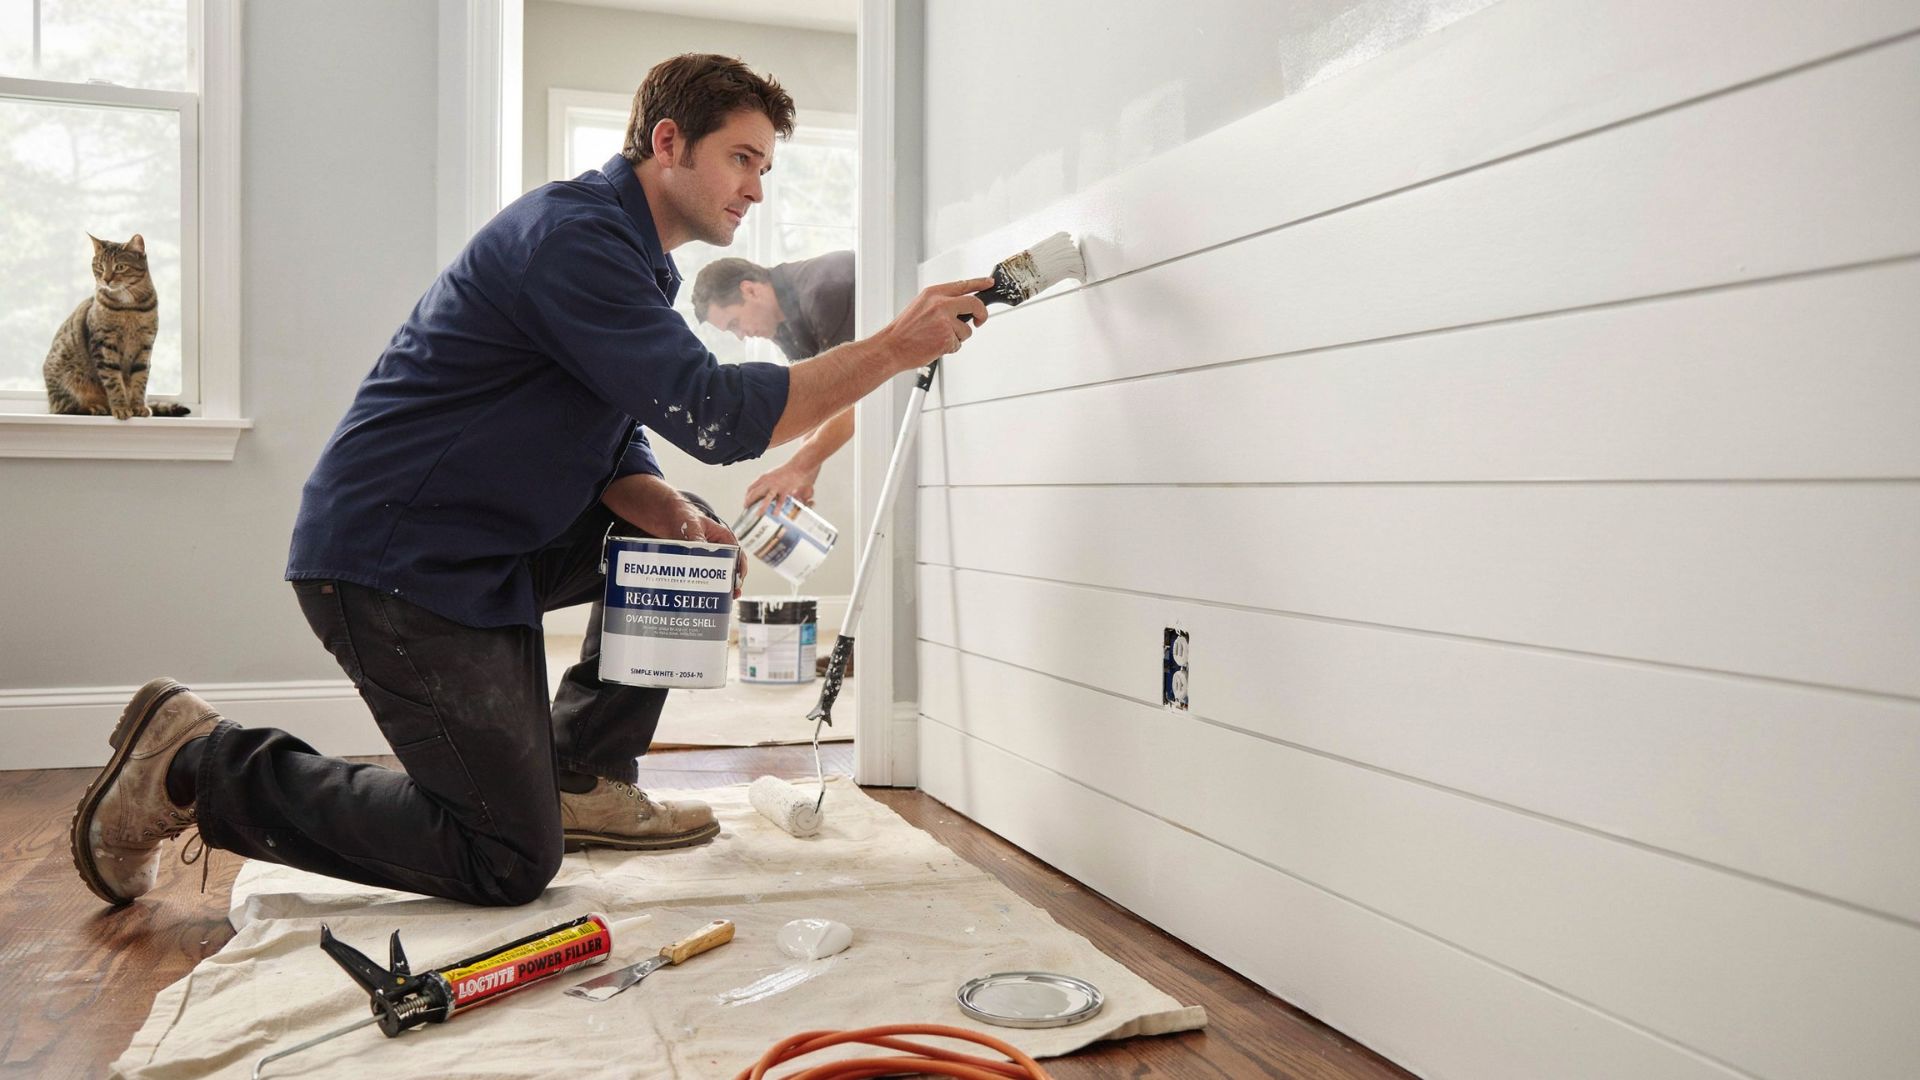
Fill all nail holes with wood filler. Let it dry, then sand smooth. Apply caulk along the top and bottom edges of the wall and anywhere boards meet trim.
Once the caulk dries, apply a coat of primer first, then two coats of paint. Light colors make the texture pop, while dark colors create a bold, dramatic look.
Vertical Shiplap Accent Wall vs Horizontal Shiplap
A comparison of vertical and horizontal shiplap orientations to help you choose the style that best suits your space and design goals.
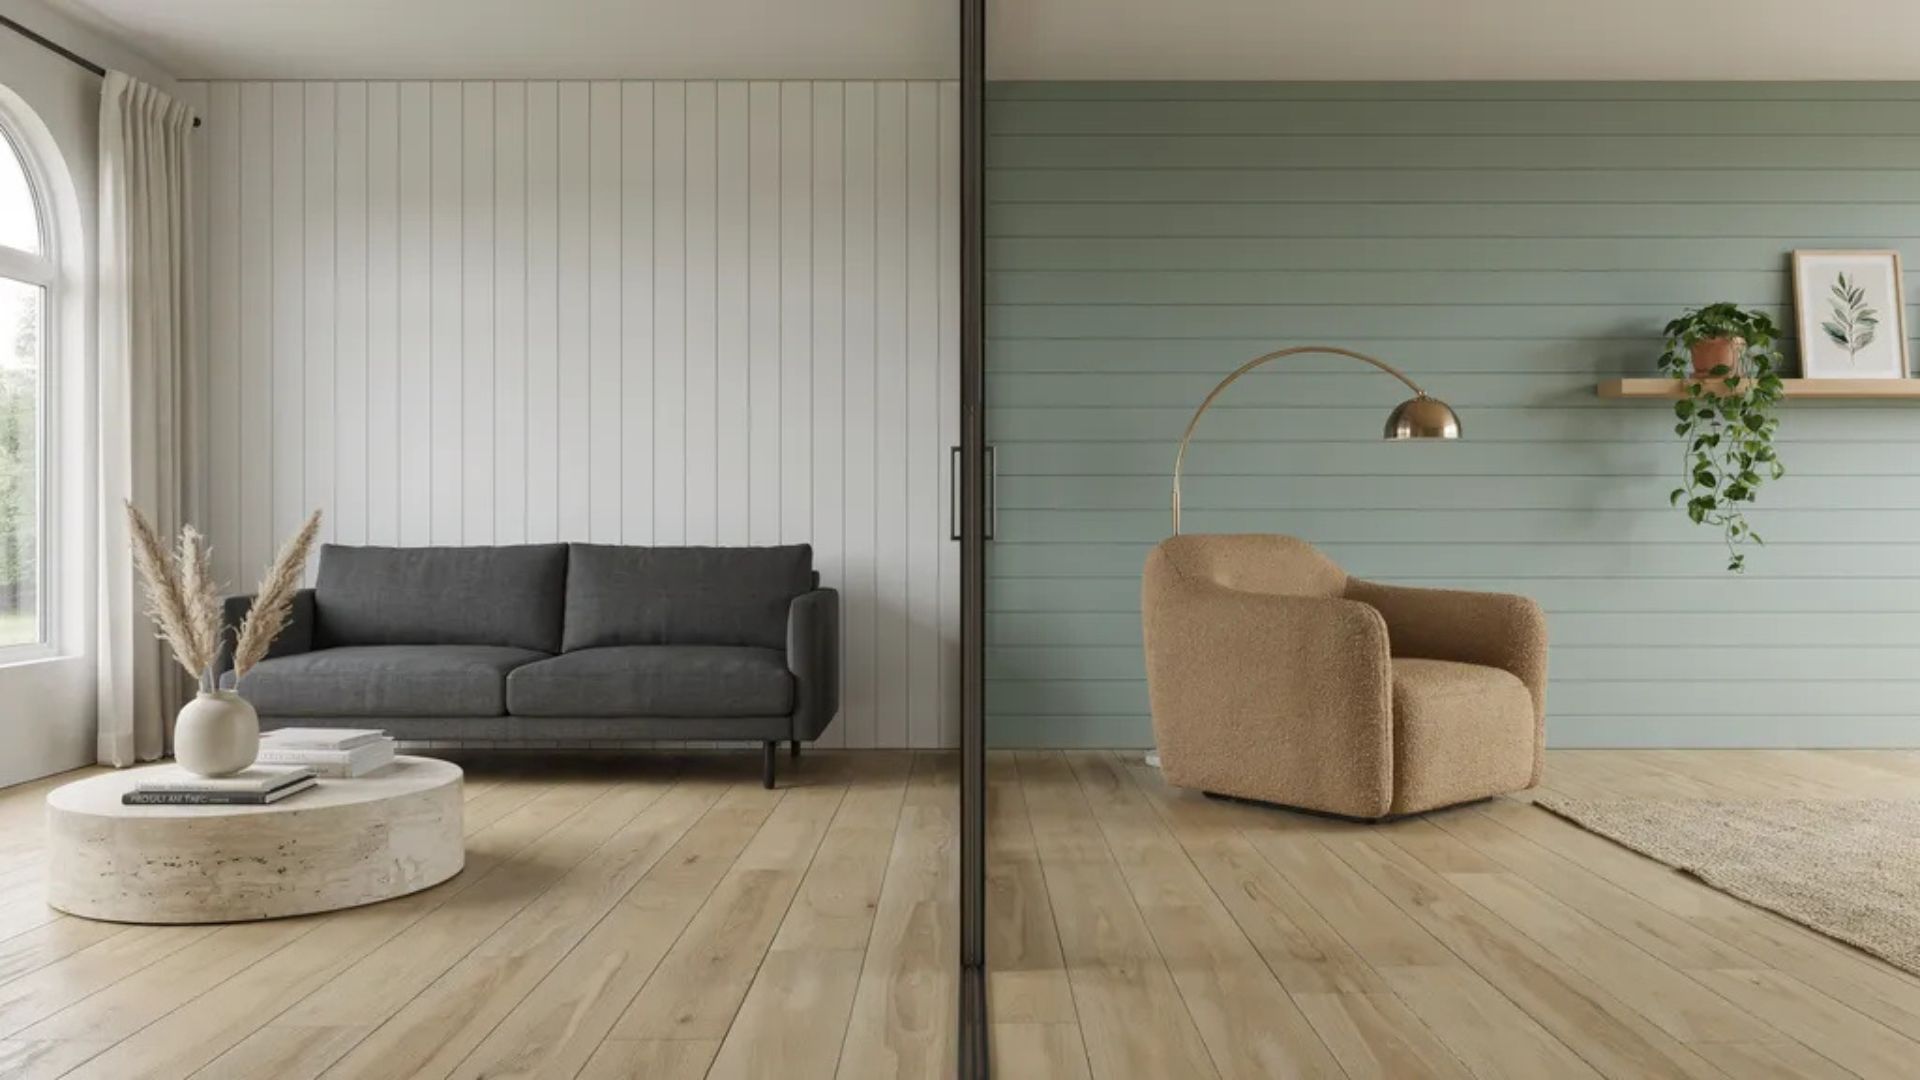
Both styles can convert a space, but the right choice depends on your room size, ceiling height, and overall design goals.
Benefits of Vertical Shiplap
Vertical shiplap makes a room feel taller. It draws the eye upward, which works well in spaces with low ceilings.
It also gives a more modern, contemporary feel compared to horizontal layouts.
Benefits of Horizontal Shiplap
Horizontal shiplap is the more classic look. It makes a room feel wider and is the style most people picture when they think of a shiplap wall.
It is also slightly easier to install because you are stacking boards in a straightforward pattern.
Shiplap Accent Wall Ideas
A roundup of creative shiplap accent wall ideas to influence your next home makeover, from classic white finishes to bold, colorful statements.

Shiplap Accent Wall Bedroom Ideas
In a bedroom, shiplap works best on the wall behind the bed. It frames the space and adds warmth without making the room feel cluttered.
Soft whites, warm grays, and earthy tones are popular color choices. You can also add wall sconces directly onto the shiplap for a cozy, layered look.
Living Room Shiplap Accent Wall Ideas
A living room shiplap wall often serves as the main focal point of the space. It pairs well with a gallery of framed photos or a large mirror.
Many homeowners choose a neutral white or off-white for living rooms to keep the look light and open.
Shiplap Accent Wall With Fireplace
Shiplap around a fireplace is one of the most popular combinations in home design right now. The texture of the wood contrasts nicely with the hard lines of a fireplace surround.
Use fire-rated materials and keep boards a safe distance from the firebox opening to follow local building codes.
White and Black Shiplap Accent Wall Designs
White shiplap is the most common choice because it feels clean and works with almost any decor style.
Black shiplap is bolder and creates a strong contrast, especially in rooms with light furniture and flooring. Both options look great depending on the mood you want to create in the space.
Common Mistakes to Avoid
Avoiding a few simple errors during installation and finishing can save you time and help your shiplap wall look its best.
Skipping the Stud Finder
One of the biggest installation mistakes is skipping the stud finder. Nailing into drywall alone will not provide enough support, and the boards may loosen over time.
Not Checking the Level Regularly
Even a small alignment issue can become noticeable after several rows. Check your level often throughout the installation process to keep the boards straight.
Rushing Measurements and Cuts
Taking shortcuts when measuring and cutting can lead to uneven edges and poor board placement. Always measure twice before cutting, especially around outlets and electrical boxes.
Skipping Primer Before Painting
Applying paint directly to raw wood can create a patchy finish. Using primer first helps the paint adhere properly and creates a more even appearance.
Leaving Gaps Around Trim and Baseboards
Failing to caulk gaps where the boards meet trim or baseboards can make the wall look unfinished. A small amount of caulk creates a cleaner, more polished result.
Applying Too Little Paint
Shiplap texture often absorbs the first coat of paint. Applying at least two coats helps achieve a smooth and consistent finish.
Tips for a Professional-Looking Shiplap Accent Wall
Small details during installation make a big difference in how the finished wall looks.
- Always check your level as you go. Never assume the floor is straight since most floors have slight variations.
- Bring the boards inside your home at least 24 to 48 hours before installing. Wood shifts with humidity and temperature, so letting it adjust first prevents warping and gaps.
- Paint the wall the same color as your shiplap before installing. This keeps the gaps between boards from showing raw drywall underneath.
- Do not skip filling nail holes and caulking seams. A little wood filler and caulk go a long way in making the wall look clean and finished.
- Sand lightly between paint coats. This smooths out any surface imperfections and helps the final coat go on evenly.
Conclusion
Installing a shiplap accent wall may seem challenging at first, but it is a project that becomes more enjoyable with each step. From my experience, the secret is to take your time, measure carefully, and focus on the finishing details.
Those small efforts make a big difference in the final result. Once the paint dries and everything comes together, you will have a feature wall that adds texture and personality to your space.
I hope this guide gives you the confidence to get started today. If you try this project, leave a comment below and share your results.
Frequently Asked Questions
How long does it take to install a shiplap accent wall?
Most DIYers can complete a standard accent wall in one to two days. The prep and finishing steps like caulking and painting usually take the most time.
Do I need to hire a professional to install shiplap?
No, shiplap installation is a beginner-friendly DIY project. As long as you have the right tools and follow each step carefully, you can do it yourself without professional help.
What type of shiplap board is best for a bedroom wall?
MDF and pine boards are popular choices for bedroom walls. They are affordable, easy to cut, and take paint well for a clean finished look.
Can I install shiplap directly over existing drywall?
Yes, you can install shiplap directly over drywall in most cases. Just make sure the wall surface is smooth and that you nail the boards into the studs for a secure hold.
How do I keep the gaps between shiplap boards even?
Using coins like nickels as spacers between each row is a simple and effective trick. They give you a consistent gap all the way up the wall without any guesswork.


